.png)
Primary Bathroom Renovation
- Caitie Fackler

- Mar 17, 2023
- 2 min read
Updated: Aug 16, 2023

Our bathroom renovation was a labor of love that is for sure. The remodeling that we wanted done would have cost us 50k+ so instead we took approximately 6 months to complete it ourselves. It all started with this vanity that I purchased from Facebook Marketplace for $500 (originally $3000).
Here is everything we changed in this space:
First of all, we completely changed the layout. Initially, this space had an open space with a vanity. On either side of the vanity was a door into the closet on the left and the shower and toilet room on the right. We removed the two existing doors and closed the entire space off with a door from the bedroom.

Here is the open space vanity. You can see the door openings leading to the closet and the bathroom.

This wall was the first thing to go! This allowed us to make room for a double vanity.

Why would we want to change this?! I mean look at that faux marble and that lighting! All of this went with demo!

Yet another door. This one lead to the closet. Before this remodel, our bedroom had a total of 4 doors! Seems a bit excessive.

Here is the closet before the renovation. You will have to be on the look out for an upcoming post about this MAJOR upgrade.
Ok, now that you are caught up on the before... let's talk about the changes that were made!
Ceiling- Since we removed a wall, we had to come up with a solution to patch the ceiling. If you have ever been in a 1970s home you know that a lovely popcorn ceiling is probably present. To avoid having to match the previous ceiling texture, we decided on a painted plank ceiling and our own custom DIY crown molding.

I mean look at that texture! Make sure to prime with mold and mildew resistant primer.
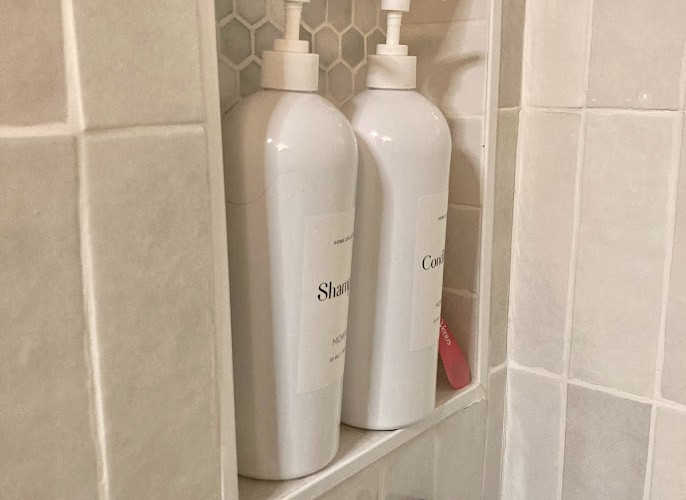
2. Let's talk tile...
We used two different tiles in this project. One for the shower as seen above and one for the floor. They were in completely different budget ranges but I am super pleased with both!
*Shower Tile: Cloe Subway White Tile from Bedrosian's-- $9.69/square foot :/
*Floor Tile: Greige Hexagon Tile from Lowe's by Sartori-- $1.39/square foot
Tiling a shower and/or a floor is a LOT of work! But both projects turned out great. We learned a lot from YouTube University. Make sure to do your research especially when it comes to waterproofing and prep for tile.

3. Paint! This was the most cost-effective change in the bathroom. Initially the plan was to keep the space bright and airy but with the white tile, countertop and ceiling I knew we needed some color. So we chose Northwoods by Behr which was the same color we used on the accent wall in our bedroom.
It doesn't sound like we did much writing it down. But this project was MAJOR! We moved plumbing, electrical, extended our shower and so much more. Check out the after pics!


Make sure to check us out on Instagram to see projects in real-time!
See something you like in our bathroom renovation?! Most likely we purchased it from Amazon! Check out our Amazon Bathroom Idea List!


Comments